A Step-by-Step Guide to Setting Up Your Home Theater System
Key Takeaways
- Choose the right location for your home theater.
- Invest in high-quality components for optimal performance.
- Understand wiring and mounting processes to ensure a clean installation.
- Optimize your sound setup for the best audio experience.
- Consider lighting and seating arrangements to enhance your viewing environment.
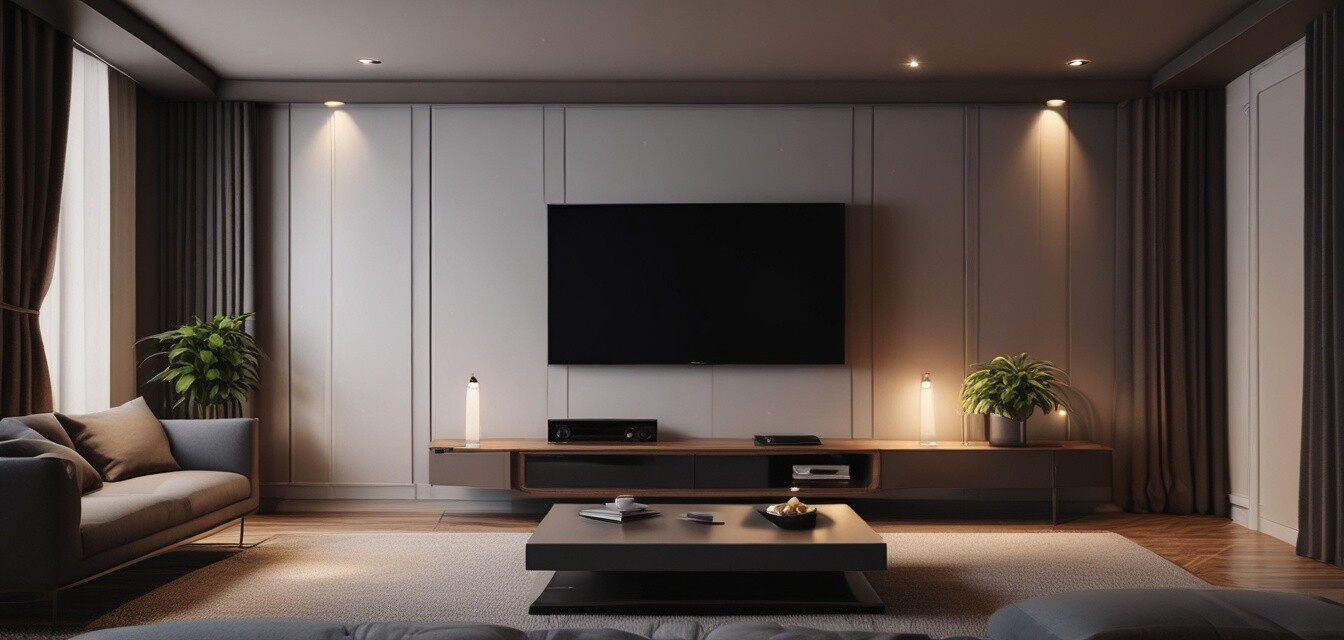
Creating a home theater system can be an exhilarating project. This comprehensive guide will walk you through each step to ensure a seamless and effective installation process, so you can enjoy your favorite movies and shows in style and comfort.
1. Plan Your Layout
The first step in setting up your home theater is deciding on the layout. Take into consideration the space you have available and how you want to arrange your equipment. Here are some factors to consider:
- The size of the room.
- The placement of doors and windows.
- The location of electrical outlets.
- Optimal seating arrangements.
Creating a Floor Plan
A floor plan can help visualize how everything will fit together. You can use graph paper or digital design tools to map out your setup.
| Component | Recommended Placement |
|---|---|
| Television | Opposite the seating area, at eye level. |
| Speakers | Surround sound setup around the seating area. |
| Projector | Mounted to the ceiling or on a shelf behind the seating area. |
| Receiver | In an easily accessible location for remotes and cables. |
2. Gather the Required Equipment
Before diving into installation, ensure you have all necessary components ready. Here's a list of typical items you might need:
- Television or projector
- Audio receiver
- Speakers (front, surround, and subwoofer)
- Media player (Blu-ray, gaming console, etc.)
- Cables (HDMI, speaker wire, power cords)
- Mounts and brackets for installation
- Remote control systems
For more information on different types of speakers and their placements, check out our section on Buying Guides.
3. Install Your Television or Projector
Choosing between a television and a projector depends on your space and preferences. Below are steps to help you install each:
Television Installation
- Select a sturdy mount or stand suitable for your TV size.
- Determine the height at which the TV should be mounted.
- Securely attach the mount to the wall or place the TV on a stand.
Projector Installation
- Choose a projector that matches your viewing distance and size.
- Mount the projector to the ceiling or a flat surface, ensuring it is aimed correctly.
- Connect the projector to the receiver using appropriate cabling.
4. Set Up Audio Components
To fully immerse yourself in the experience, setting up your audio components is crucial. Use the following tips:
- Position the center speaker directly above or below the TV.
- Place front speakers at ear level and angled towards the seating area.
- Install surround speakers above ear level and slightly behind the seating area.
- Position the subwoofer in a corner to enhance bass performance.
Pros
- Improved sound quality with the right setup.
- Enhanced viewing experience with optimal placement.
- Customizable according to room layout.
Cons
- Can be complex for beginners.
- May require professional help for advanced setups.
- Potential for equipment compatibility issues.
5. Connect Everything Together
Ensure all components are properly connected. Here are general steps to follow:
- Connect the audio/video receiver to your TV/projector using HDMI cables.
- Link all media sources (Blu-ray players, gaming consoles, etc.) to the receiver.
- Connect speakers to the receiver ensuring correct polarity (positive to positive, negative to negative).
6. Fine-Tuning Your Setup
Now that everything is connected, it’s time to optimize the settings:
- Calibrate the audio using your receiver’s built-in calibration tool or a sound meter.
- Adjust the video settings for optimal brightness, contrast, and colors.
- Test sound and video with different formats to find the best settings.
7. Optimize Your Environment
Lastly, consider the environment where your home theater is set up:
- Control ambient light using curtains or shades.
- Arrange furniture to minimize sound reflections.
- Consider adding acoustic panels for better sound insulation.
Additional Tips
- Make use of cable management systems to avoid clutter.
- Keep remote controls and other gadgets organized in a designated space.
- Remember to label cables for easier troubleshooting in the future.
For more tips on accessories and mounts, be sure to visit our Accessories & Mounts page for helpful information.
Conclusion
Setting up your home theater system doesn’t have to be overwhelming. By following these steps, you can create a delightful audiovisual experience that fits your space and style. Embrace the journey and enjoy your very own cinema experience from the comfort of your home!